How to Install Epson Printer
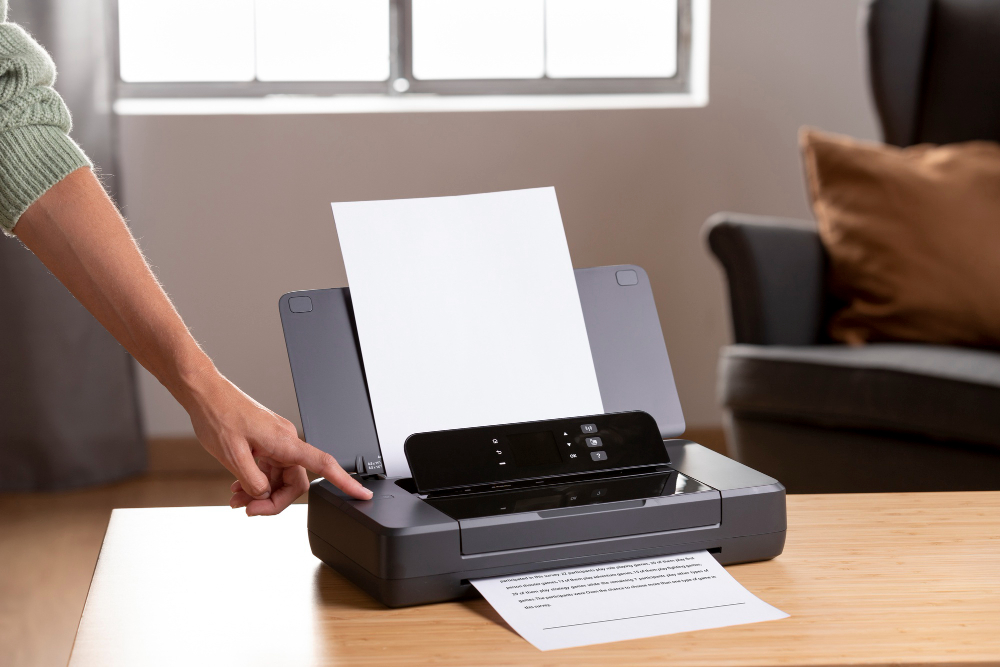
Epson printers are designed for simplicity and are the ones that are easy to use. Epson printers provide incredible results and are ideal for everyday tasks. From quality printing to scanning, Epson printers are exceptionally reliable and amazing. Whether you need to setup a new printer or want to reconnect the existing one, this guide will walk you through all these jobs done quickly.
How to Download an Epson Printer Drivers?

- First, click the “Enter” button after typing “Epson.com” into your web program’s location bar.
- You will see the landing page for the “Epson” website will appear.
- Now, select “Pick your nation” by swiping down on the name of your country on the page.

- Click the “Backing” tab at the top of the page that appears.
- At this moment, select “printer” from the drop-down menu.
- After that, a clear window will appear asking you to “Enter your item name” and search for
- Epson printer drivers by selecting or inputting the model of your printer.

- After inputting the model name of your printer, press the “Search” button.
- Right now, choose your working framework from the drop-down menu.
- Next, the “Drivers and utilities combo bundle installer” will then appear beneath your working framework.
- To start downloading and installing the Epson printer driver on your computer, click the “Download” button.
Install Epson Printer Drivers
- After obtaining “Epson associate printer arrangement utility and drivers” from Epson.com.
- Now, Just to recap Click “Install” after tapping the “I agree to the terms in the permit arrangement” option available on the “client permit understanding” box.
- Once the Epson printer setup is complete, click the “Finish” button.
- Now, select the “Epson printer’s model name” now, then click the “Following” button underneath it.
- From there on, select “Printer Registration” and click the “Following” option further down the page.
- Now, accept the “License understanding and protection articulation” by clicking “Following” after tapping the concur slug.

- You will now see the message “Register your printer with the Epson associate” on the screen of your computer.
- Now, click on the ‘Alright’ button.
- Assuming you do not currently have an Epson associate record, you may create a new one by selecting “Make new Epson interface account” from that menu.
- At that point, click the “I currently have a record” option, if you already have one.
- Now, click the “Add another printer” option, enter the required details, and then press the “Add” option.
- Finally, click on the “Close” button to finish setting up the Epson printer.
Install Epson Printer For Windows
Once you have connected your Epson printer, install it for your Windows. To perform this function, you need to follow the below details:
- First, turn on the printer.
- Now, go to the official website of Epson printer, and choose to download and install the Windows version.
- After that, connect Printer Setup Utility.
- Next, tick the agreement and click on Next.
- Click Install.
- Afterwards, select your product in the Menu and click on Next.
- Now, select Printer registration and click on Next.
- Click Agree, then Next.
- The moment you see, Register a printer to Epson connect Click on ‘OK’.
- Now, you can create a new account or sign-in with an existing one.
- At last, click on “OK’.
Install Epson Printer For Mac
We also need to install an Epson printer for Mac as well. To install this, we need to follow a process:
- Start by turning on your printer.
- Now, go to Epson’s official website, and choose to download and install the Mac version of Epson connect.
- Then, connect to the Printer Setup Utility.
- From there, click on ‘Continue’.
- Then, click on Continue > Agree.
- Click, Install and close.
- Now, select your printer and click Next.
- In case, no pop-up window will appear, install Epson Printer by using steps: Finder > Application > Epson Software > Epson Connect Printer Setup.
- Then, choose Printer Registration and click on ‘Next’ and then ‘OK’.
- Now, scroll down the content and tick on ‘I accept the Terms and Conditions’ checkbox, click on ‘Next’.
- At last, create a new account and sign-in using the old one, then, click on ‘Close’.
How to Wirelessly Connect an Epson Printer to a Computer
When you connect your Epson printer to a computer over a wireless network, your printing equipment may print from commands provided via a mobile device. You can follow the guidelines below to learn how to connect an Epson printer to a computer wirelessly.
- First, be aware of your network name and password.
- Make sure your PC has the Epson Connect Printer configuration installed.
- Switch on your Epson printer.
- You must hit the Home button on the printer’s control panel.
- Using the arrow button, choose the WiFi setup option. Click OK after that. To view the choices, keep the Ok button held.
- Next, choose the WiFi Configuration Wizard and click OK.
- Now, look for the network.
- Enter the proper password for the same network when it appears on the screen.
- You may click OK to verify the connection after providing the network password.
- The Wi-Fi network connection between your computer and printer has been established successfully.
Epson Connect Printer Setup on Mac
To connect the Epson connect printer on a Mac, you need to follow the below steps.
- Start by turning on your printer.
- Now, go to Epson’s official website and choose to download and install the Mac version of Epson Connect.
- Then, connect to the Printer Setup Utility.
- From there, click on ‘Continue’.
- Then, click on Continue > Agree.
- Click, Install and close.
- Now, select your printer and click Next.
- If no pop-up window appears, install Epson Printer using the steps: Finder > Application > Epson Software > Epson Connect Printer Setup.
- Then, choose Printer Registration, hit ‘Next’, and then ‘OK’.
- Now, scroll down the content, tick the ‘I accept the Terms and Conditions’ checkbox, and click ‘Next’.
- At last, create a new account and sign in using the old one, then click ‘Close’.
Epson Connect Printer Setup on Windows
- Go to the Epson support main page, then select your product.
- After that, go to Manuals and click Start Here.
- First, download and install the Epson Connect Printer Setup Utility.
- Then, agree to the end user license agreement and click Next.
- Select your product and click on ‘Next’.
- After that, select Printer Registration, then click Next.
- Again, Select Agree and click on Next.
- Now, you will see the Register a printer to Epson Connect message; click OK.
- After this, you have two choices:
- In case you are creating a new account, complete the Create an Epson Connect account form, then click on Finish.
- Now, if you are registering for a new product with an existing account, select I already have an account, complete a new printer form, and click Add.
- At last, click close.
- You can also check the Activate Scan to Cloud and Remote Print instructions in order to activate the Scan to Cloud and Remote Print services.
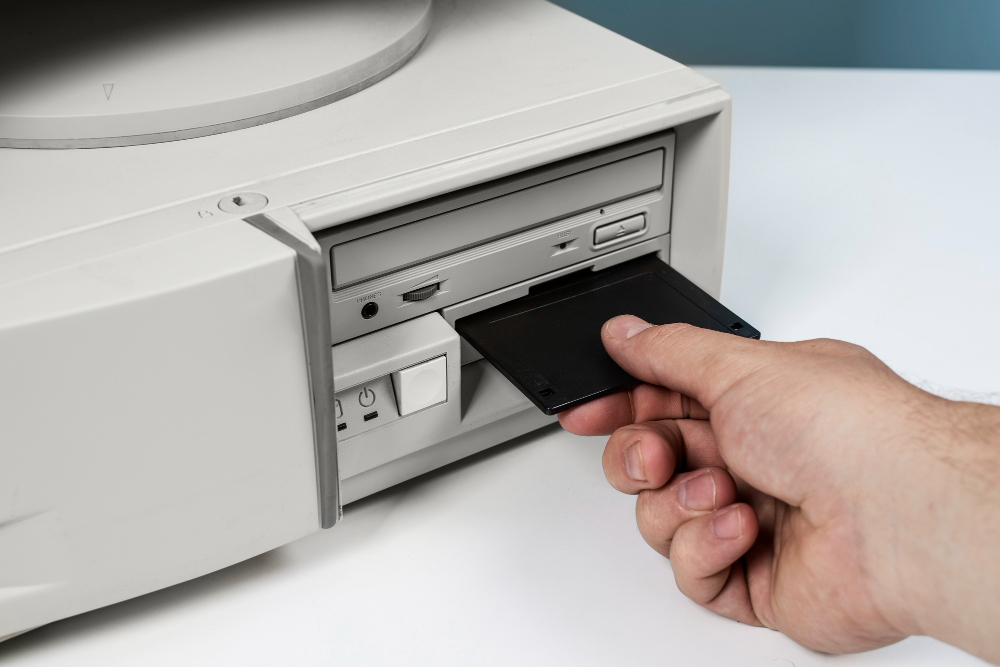
How to Install Epson Printer With CD
If you have one, place the driver installation CD into the computer’s CD-ROM to begin the installation process. It should have arrived with your printer box. Follow the instructions below to use this process:
- First, locate and open the driver file on your computer.
- Click the Run button to continue when the Security Warning dialog box appears.
- Next, in the Epson Installer dialog box, click the OK button.
- To continue, click Next after accepting the End-User License Agreement.
- Now, comply with the on-screen instructions and press the Next button.
- It will now take some time to finish the installation.
- Select the connection method you wish to use between your computer and printer in the Select the Connection Method box, then press the Next button.
- To finish installing the printer driver, follow the on-screen directions.
Epson Smart Panel App to Connect to Mobile Device
- First, ensure the printer and mobile device are connected to the same network.
- For Android users, go to the Google Play Store and install the Epson Smart Panel App.
- In case you are an iPhone user, use the App store to install Epson Smart App.
- Once you have installed the app, launch it on your mobile device.
- After that, if your printer is detected automatically, you need to perform on-screen prompts and complete the setup.
- In case your printer is not detected, tap the (+) icon available at the top-left corner of the screen.
- Now, touch the connect to a New Product option and pick your printer name from the available list.
- At last, proceed with the on-screen instructions and complete the setup.

FAQs
Printer driver problems may be the cause if your Epson printer isn’t wirelessly connecting to a computer. To resolve the problem, update the Epson printer to the most recent version.
To make the Epson printer discoverable for other devices, refer to your printer’s user manual, which helps you connect it to a WiFi network. Once connected to the WiFi network, you can connect it to your computer using Epson Connect Printer Setup Software.
Epson connect printer allows users to connect an Epson printer to a computer or WiFi network. Get all the links from the official web page of Epson printer. You can learn how to connect the printer to a computer quickly through the manual provided.
To make the Epson printer discoverable for other devices, refer to your printer’s user manual, which helps you connect it to a WiFi network. Once connected to the WiFi network, you can connect it to your computer using Epson Connect Printer Setup Software.
Disclaimer
Installepsonprinter.com is an independent online wireless network technical support service provider company for third party products, brands and services. The brand names, images, trademarks, products and services of third parties mentioned on this website are only for referential purposes only and Installepsonprinter.com has no affiliation with any of these third-party companies unless such relationship is expressed specifically. The services we offer is also available on the website of the brand owners.
Useful Links
- Home
- Epson Printer Setup
- Privacy Policy
- Terms & Conditions
24*7 Service Available
© 2024 Installepsonprinter.com – All Rights Reserved.